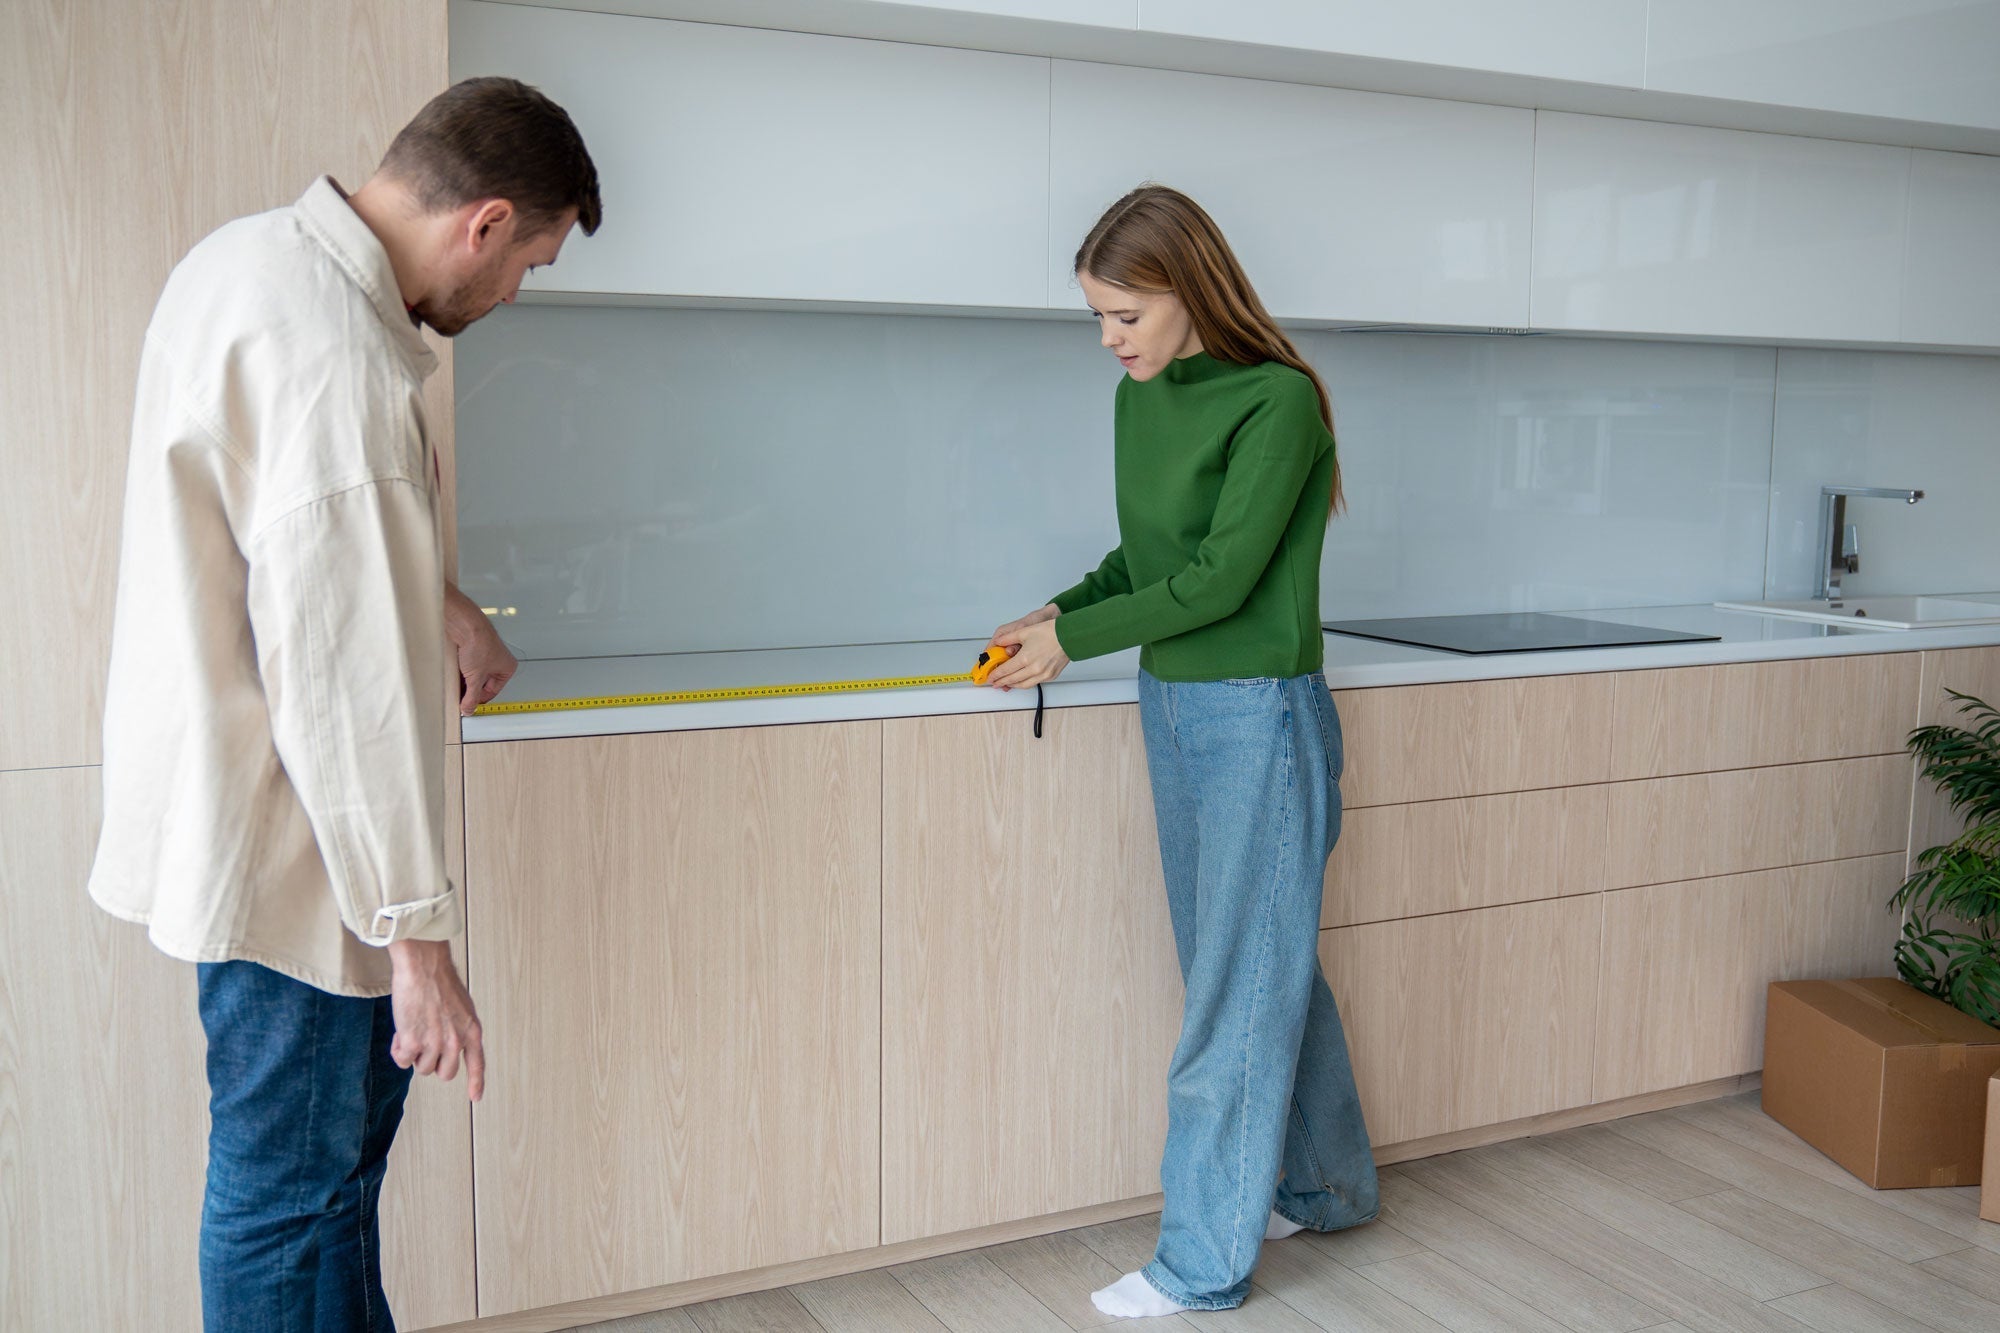
Taking accurate measurements of your kitchen is the first step towards a successful renovation project.
Learn how to measure your kitchen easily, quickly, and accurately, and download our grid to help you plan.
Accurate Measurements: The Key to a Hassle-Free Kitchen Renovation
Taking precise measurements before starting your renovation project will save you a lot of trouble.
In addition to avoiding unexpected costs, you’ll save time during installation by reducing the need for adjustments and reworking. A well-measured kitchen ensures a flawless result the first time around!
Possible Consequences of Incorrect Measurements:
- Extended delivery or installation times
- Additional costs due to modifications or adjustments
- Chosen elements not fitting the available space
- Imperfect finishes (gaps, unsightly adjustments, misaligned doors)
- Overall dissatisfaction with the final result
Tools to Simplify Measuring Your Kitchen
No need for complicated tools! Here’s what you’ll need:
- Measuring tape (preferably rigid, at least 5 metres long)
- Pencil (to easily note your dimensions and constraints)
- Level (optional, but useful for checking the flatness of the floor or walls)
- Our free downloadable measurement grid
Steps to Take Accurate Measurements of Your Kitchen
Step 1: Measure the Area Precisely
Note the width and length of each wall, as well as the ceiling height.
Make sure to take your measurements at the floor level and at the cabinet height to avoid surprises. Walls and floors aren’t always perfectly straight. Small differences may exist, especially in older homes, and they can affect the alignment of your cabinet boxes. If there’s a gap, it’s better to use the smallest measurement to ensure the modules aren’t too wide and fit properly.
Mark the distances of each wall on the grid.
Step 2: Identify Doors and Windows
Note the location, height, and width of each opening, making sure to include the framing on your grid.
Step 3: Locate Plumbing and Electrical
Identify electrical outlets, stove vent exits and water supply locations. Mark them on the grid, always starting from the centre of each element.
Step 4: Note the Special Features of Your Kitchen
Add any features that may affect the layout, such as stairs, exposed beams, columns or irregular angles.
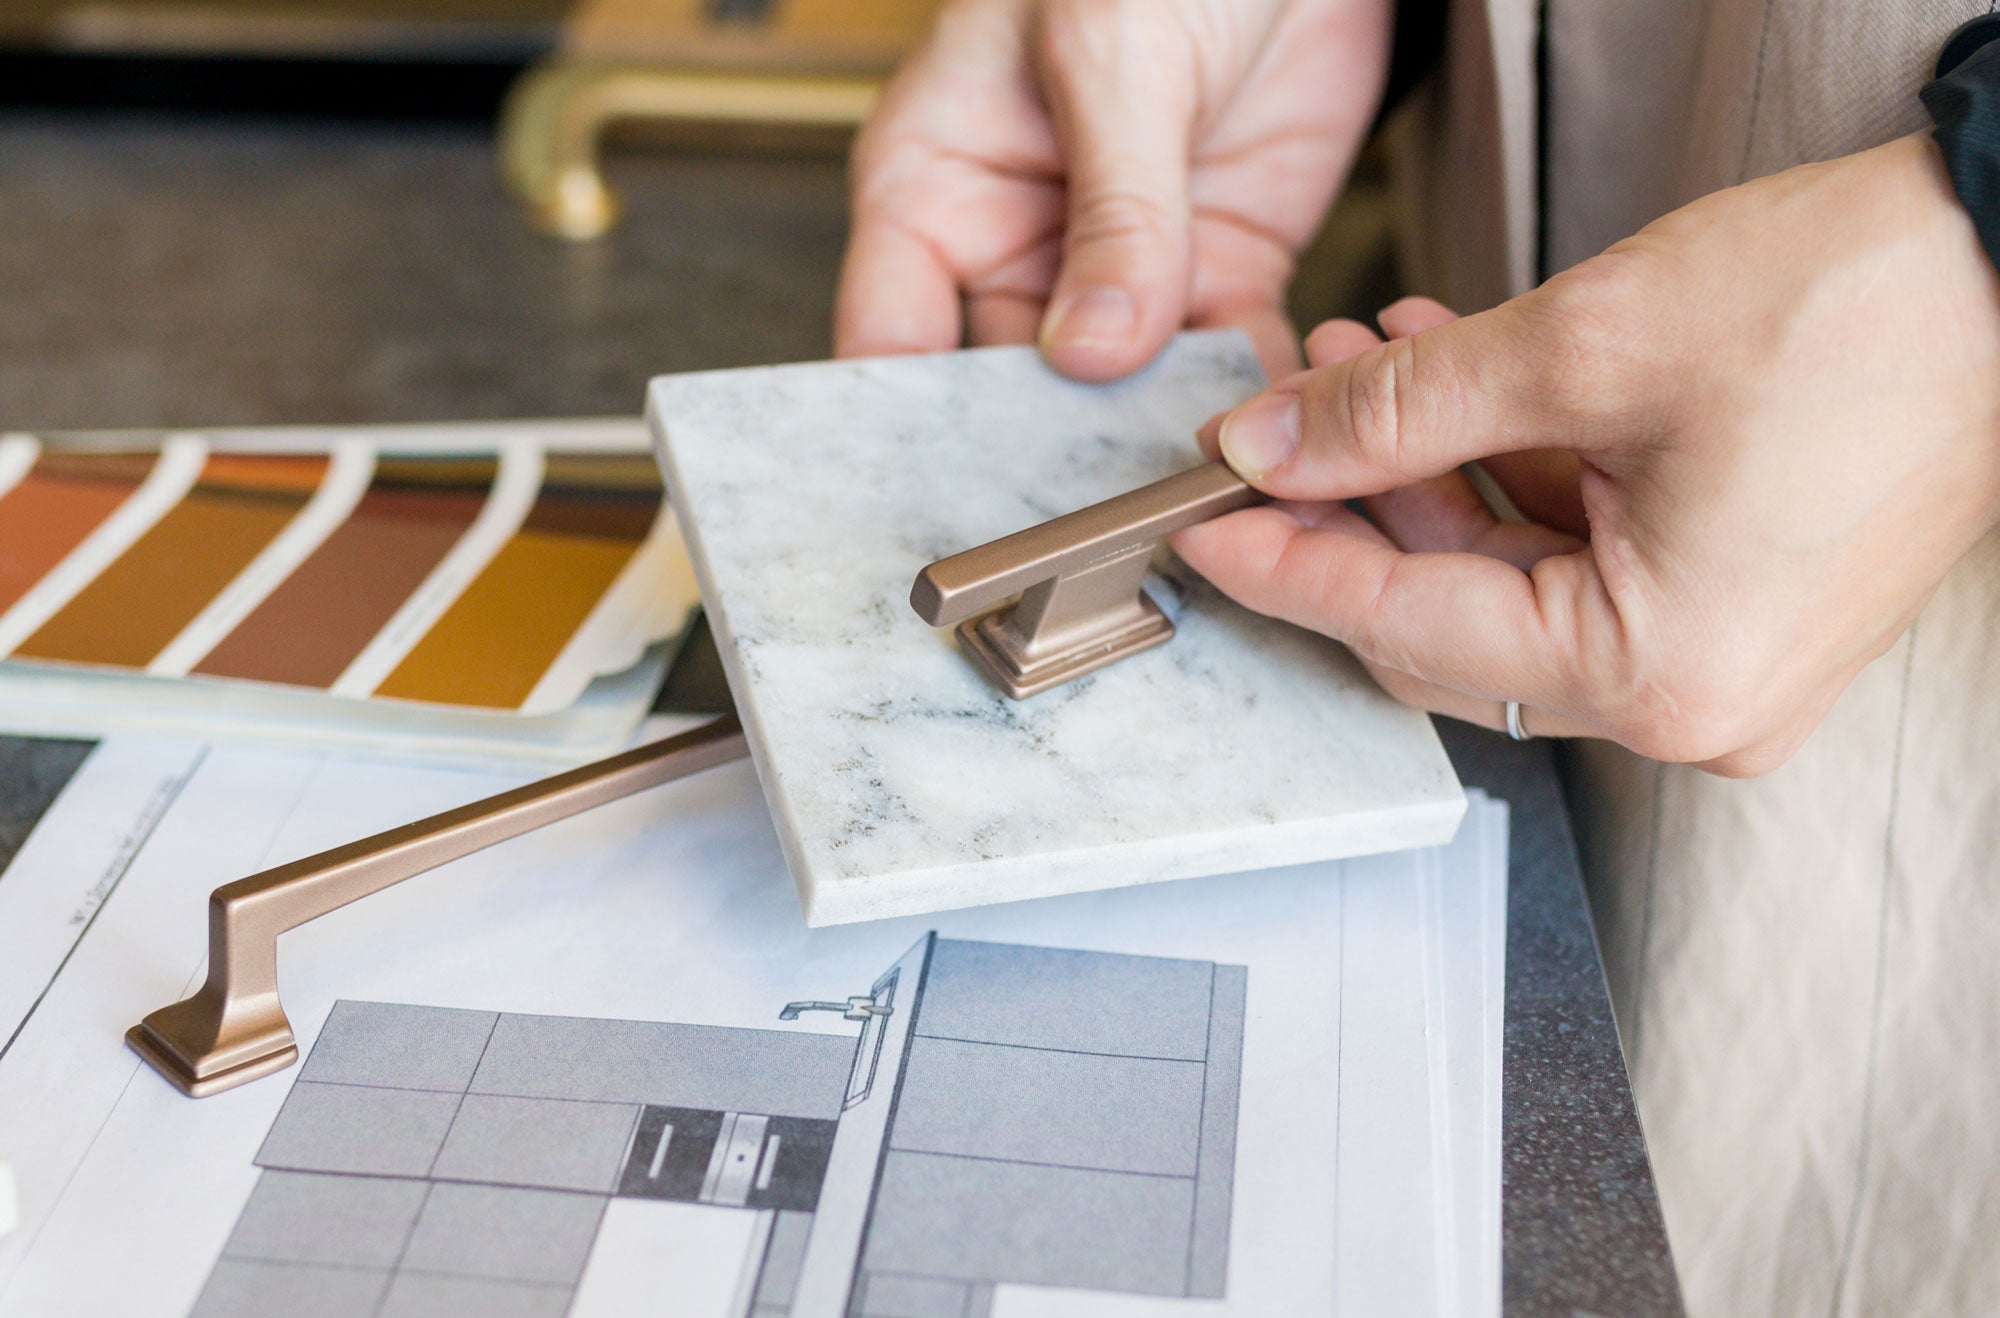
Move on to the Next Step: Design Your Kitchen with Our 3D Tool or Take Advantage of Our Design Service
Now that you’ve taken your measurements, you have two options to bring your project to life:
Use our 3D planner to test different layouts, adjust your modules, and visualize the final result of your kitchen. A free tool to bring your ideas to life!
Need a helping hand? Our design service allows you to get a detailed plan created by an expert for just $99 (refunded with purchase).

Share:
How to Use Our 3D Planning Tool to Design Your New Kitchen
Plan Your Kitchen Renovation Project in 7 Steps