All our cabinets come pre-assembled. When you receive your order, there will be just a few installation steps left, such as attaching the handles, installing the doors and drawer facades, and setting up some accessories.
Here’s a step-by-step guide to help you with the installation process.
Before You Begin: Prepare Your Space and Tools
Before installing your new cabinets, take the time to inspect your order, prepare the room and organize your tools.
Order Inspection
- Unbox and inspect each item in your order. Make sure there’s no damage. You have up to 48 hours after delivery to report any damages caused by transportation.
- Verify that you’ve received all the parts (cabinet boxes, facades, hardware, accessories).
- If you don’t plan to install your cabinets on the same day, be sure to protect them to avoid any damage in the meantime.
Gather the Necessary Tools and Accessories
To install your new cabinet boxes, doors and accessories, you will need the following tools:
- Clamps
- Level
- Wood shims
- Retractable blade knife (utility knife)
- Finish nail gun
- Stud finder
- Measuring tape
- Mitre saw
- Screwdriver
- Legs, clips, and fasteners (included with your cabinets)
- Drill/driver
- Handle drilling template
Prepare the Room
For safety reasons, we recommend turning off the water, electricity and gas, then clearing the room before you begin installing your cabinets.
If you’re changing your floor, ask your flooring supplier if they recommend installing the floor under the cabinets before setting up your kitchen (some floor types, like vinyl flooring, should not go under cabinets).
Next, follow these preparation steps:
- Use a stud finder to locate the studs inside the walls and mark each one. Studs are typically spaced 16" apart for interior walls and 24" apart (horizontally) for exterior walls.
- Determine the key heights by measuring:
- 34¾" from the highest point of the floor, and mark a horizontal line using a level or laser. This will indicate the height of the lower cabinet boxes.
- 54" from the same highest point of the floor to mark the bottom of the wall cabinets (18" standard space between the countertop and the bottom of the upper cabinets).
- 84", 90", or 93" for the total height of the wall cabinets (depending on whether they are 30", 36", or 39" tall).
- Screw a temporary furring strip (1" × 3" boards) into the studs just below the line where the wall cabinets will be installed. This will help support the upper cabinet boxes.
- Temporarily place the lower modules without screwing them in to check the fit and make sure the dimensions are correct. Don’t forget to leave space for fillers, finishing panels (5/8") and space for appliances.
This preparation will allow you to quickly spot any measurement issues.
Steps to Install Kitchen Cabinets
1. Installing the Cabinet Boxes
Installing Wall Cabinets
- Start with the corner cabinet: place it on a temporary furring strip to hold it in place.
- Level the cabinet by inserting shims as needed to adjust it.
- Secure the cabinet to the wall studs with 3" particle board screws (not provided).
- Install the second wall cabinet and connect it to the first using clamps at the top and bottom.
- Check the alignment of the front faces of the cabinet boxes and adjust with shims if necessary.
- Screw the modules together using 1 1/8" flathead screws (not provided).
- Add the junction screws for the adjustable shelves to prevent them from being visible. They will be hidden by the shelves.
- Remove the clamps and secure the remaining wall cabinets by repeating these steps.
Installing Base Cabinets
- Prepare the base modules by removing the drawers and labelling each piece before installation.
- Attach the legs to the base cabinets before setting them in place.
- Start with the corner cabinet. Align the box with the horizontal reference line drawn 34 3/4" from the floor.
- Level it on all sides and insert shims to adjust if necessary.
- Add the next box and secure it to the adjacent cabinet with clamps. Check the level and adjust with shims if necessary.
- Screw the boxes together securely using the same screws as for the wall cabinets.
- Repeat these steps for all other base cabinets.
- Remove the transport boards (pads) from the pantry once the installation is complete.
- Install the large pantry cabinet following the same process as the other base modules.
- Ensure it is square, especially if it contains sliding shelves.
- Secure all the cabinet boxes and check the space for appliances and the sink.
- Screw the cabinet boxes to the wall and insert shims as needed.
- Finish the installation by trimming any excess shims with a retractable blade knife.
Installation of Spacers, Panels, Accessories, and Countertops
Installing Spacers
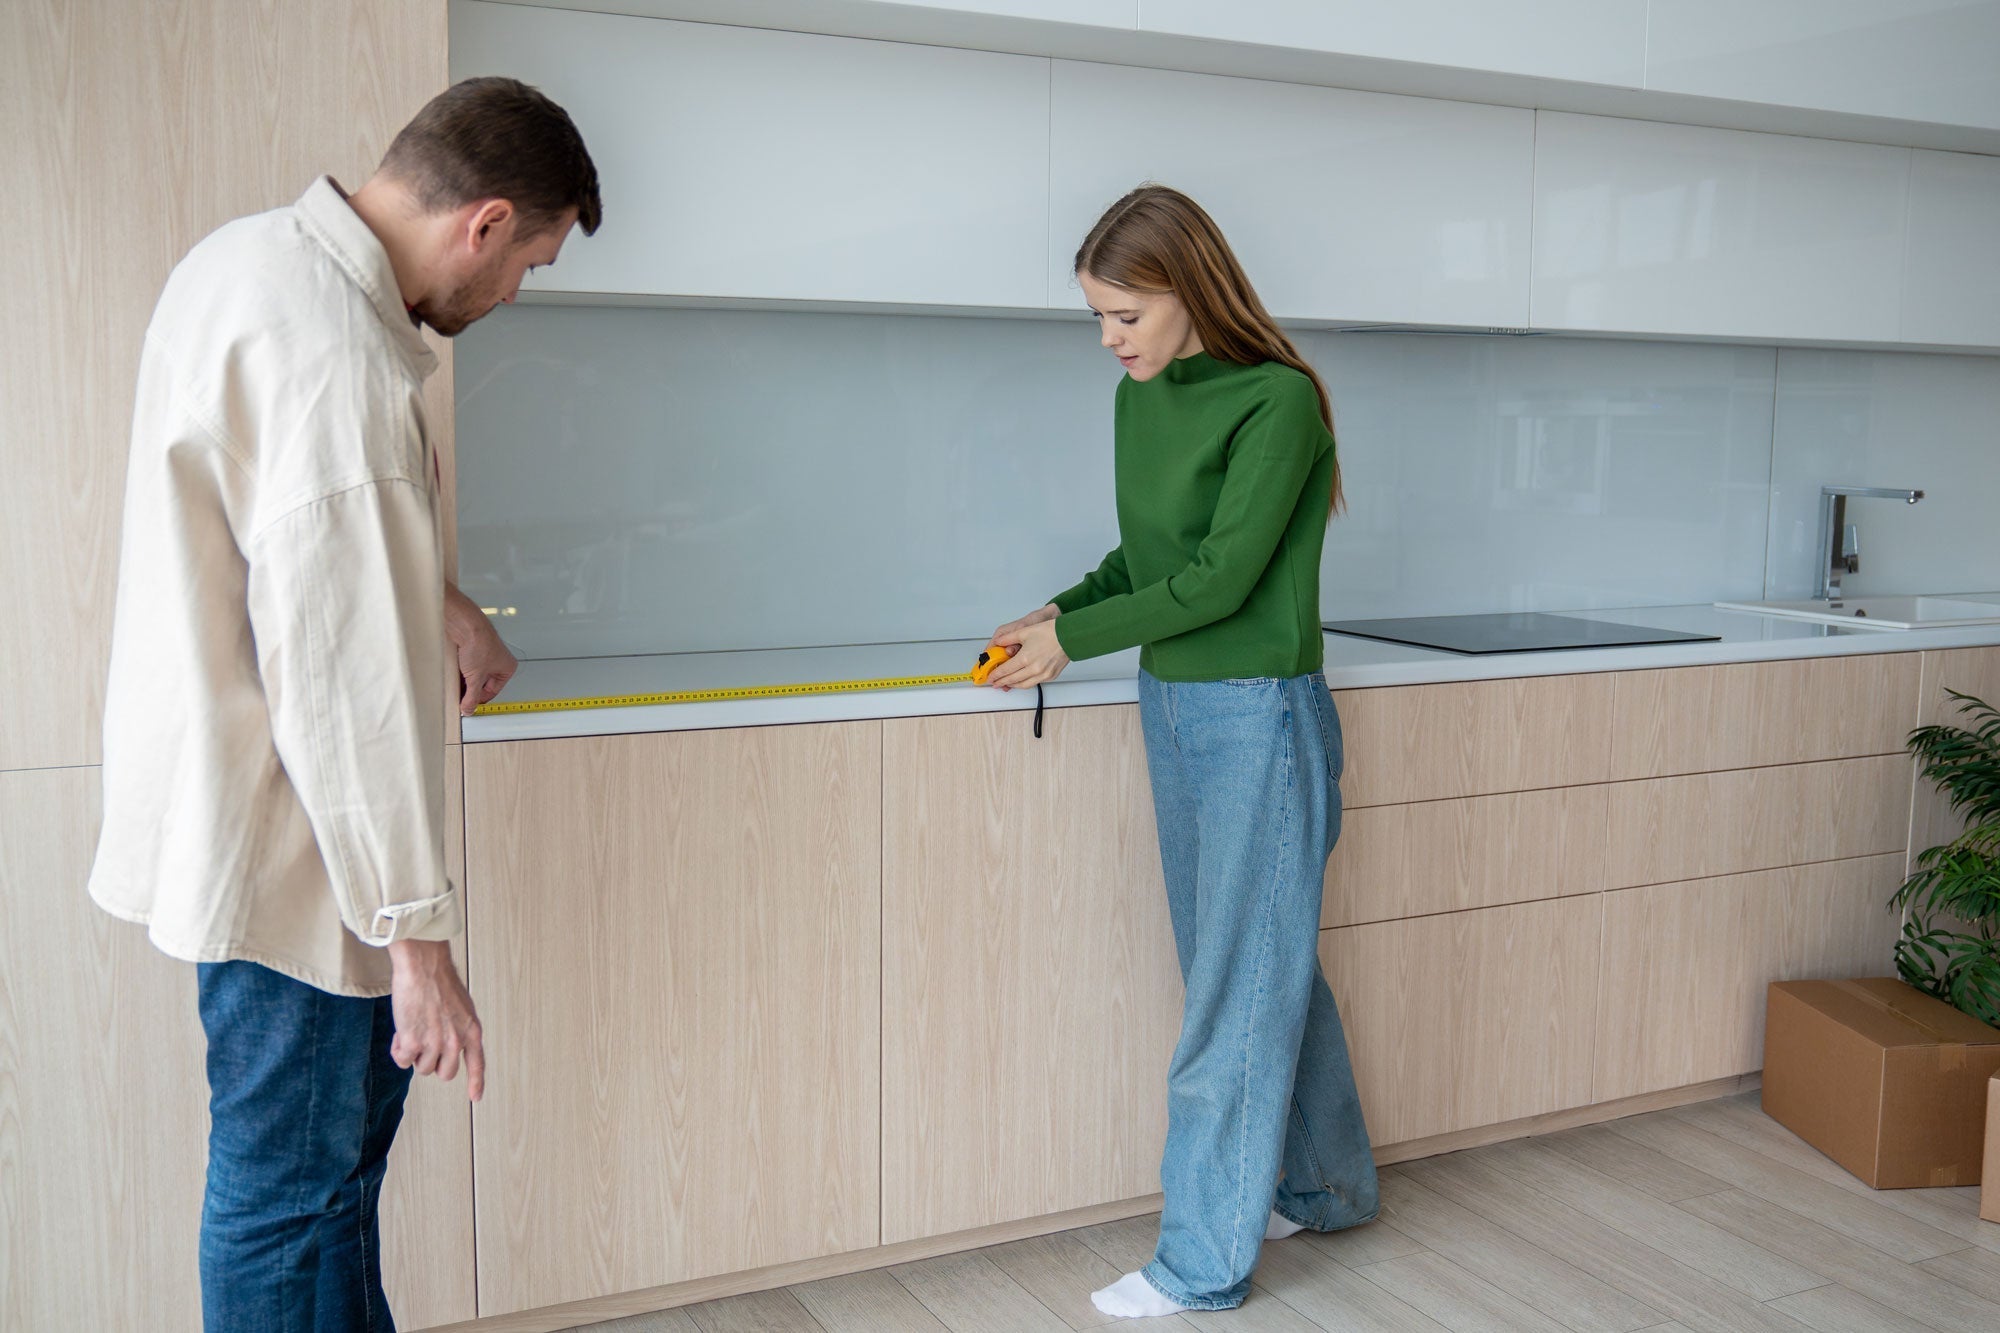
- Measure the space to fill between the cabinets or between a cabinet and the wall.
- Cut the spacers to the required dimensions for a perfect fit.
- Place the spacer with the unfinished side facing the wall, and align it with the front of the cabinet.
- Secure it firmly using a finish nail gun for the best result.
Installing Panels and Accessories
- Temporarily place the panel on the visible side of the cabinet using clamps to check the fit.
- Consider the thickness of the doors and facades when calculating the correct size for the panel.
- If necessary, remove the panel and trim it to the correct size using a saw bench.
- Before cutting, protect the finished side with masking tape and always cut from the unfinished side to avoid chipping.
- Once the cut is made, reposition the panel and secure it from the inside of the cabinet with 1 1/8" screws. (Note: The panel is 5/8" thick, so check screw length to avoid them piercing the visible surface.)
Install Interior Accessories
- Trash bin
- Lazy Susan
- Sliding drawer (screw the white spacers to the desired height in the pre-drilled holes of the cabinet before installing the slides).
Installing Countertops
- Place the countertops on the cabinets without securing them immediately.
- Before screwing them in, check that no final adjustments are needed for the base cabinets.
- If the walls are not perfectly 90°, you can slightly adjust them, knowing that a 1/4" backsplash will cover the gap.
- Secure the countertops from inside the cabinet, directly into the top crossbars, at the front and rear.
- For 45° angle joints, apply a clear silicone sealant between the two parts, making sure not to exceed 1/16" to 1/8". Wipe off any excess only from the countertop’s surface.
If Installing a Granite or Quartz Countertop via an External Supplier:
- All base cabinets must be installed and secured first.
- The sink and cooktop (if applicable) must be in place during the measurement process.
- A home measurement will then be scheduled with the countertop company before the final installation.
Installation of Moulding, Skirting Boards, Flip Hinges, Doors, Drawer Fronts, and Dampers
Installing Moulding and Skirting Boards
- Install the skirting boards (kickboards) using the clips and fasteners provided.
- Determine the spacing between each leg based on the cabinet configuration. Mark their positions on the back of the skirting boards, then secure the fasteners in place using the appropriate screws.
- If you have crown moulding (ogees), make your cuts using a mitre saw.
- The light covers should be installed in line with the front of the cabinet for an aesthetically pleasing result.
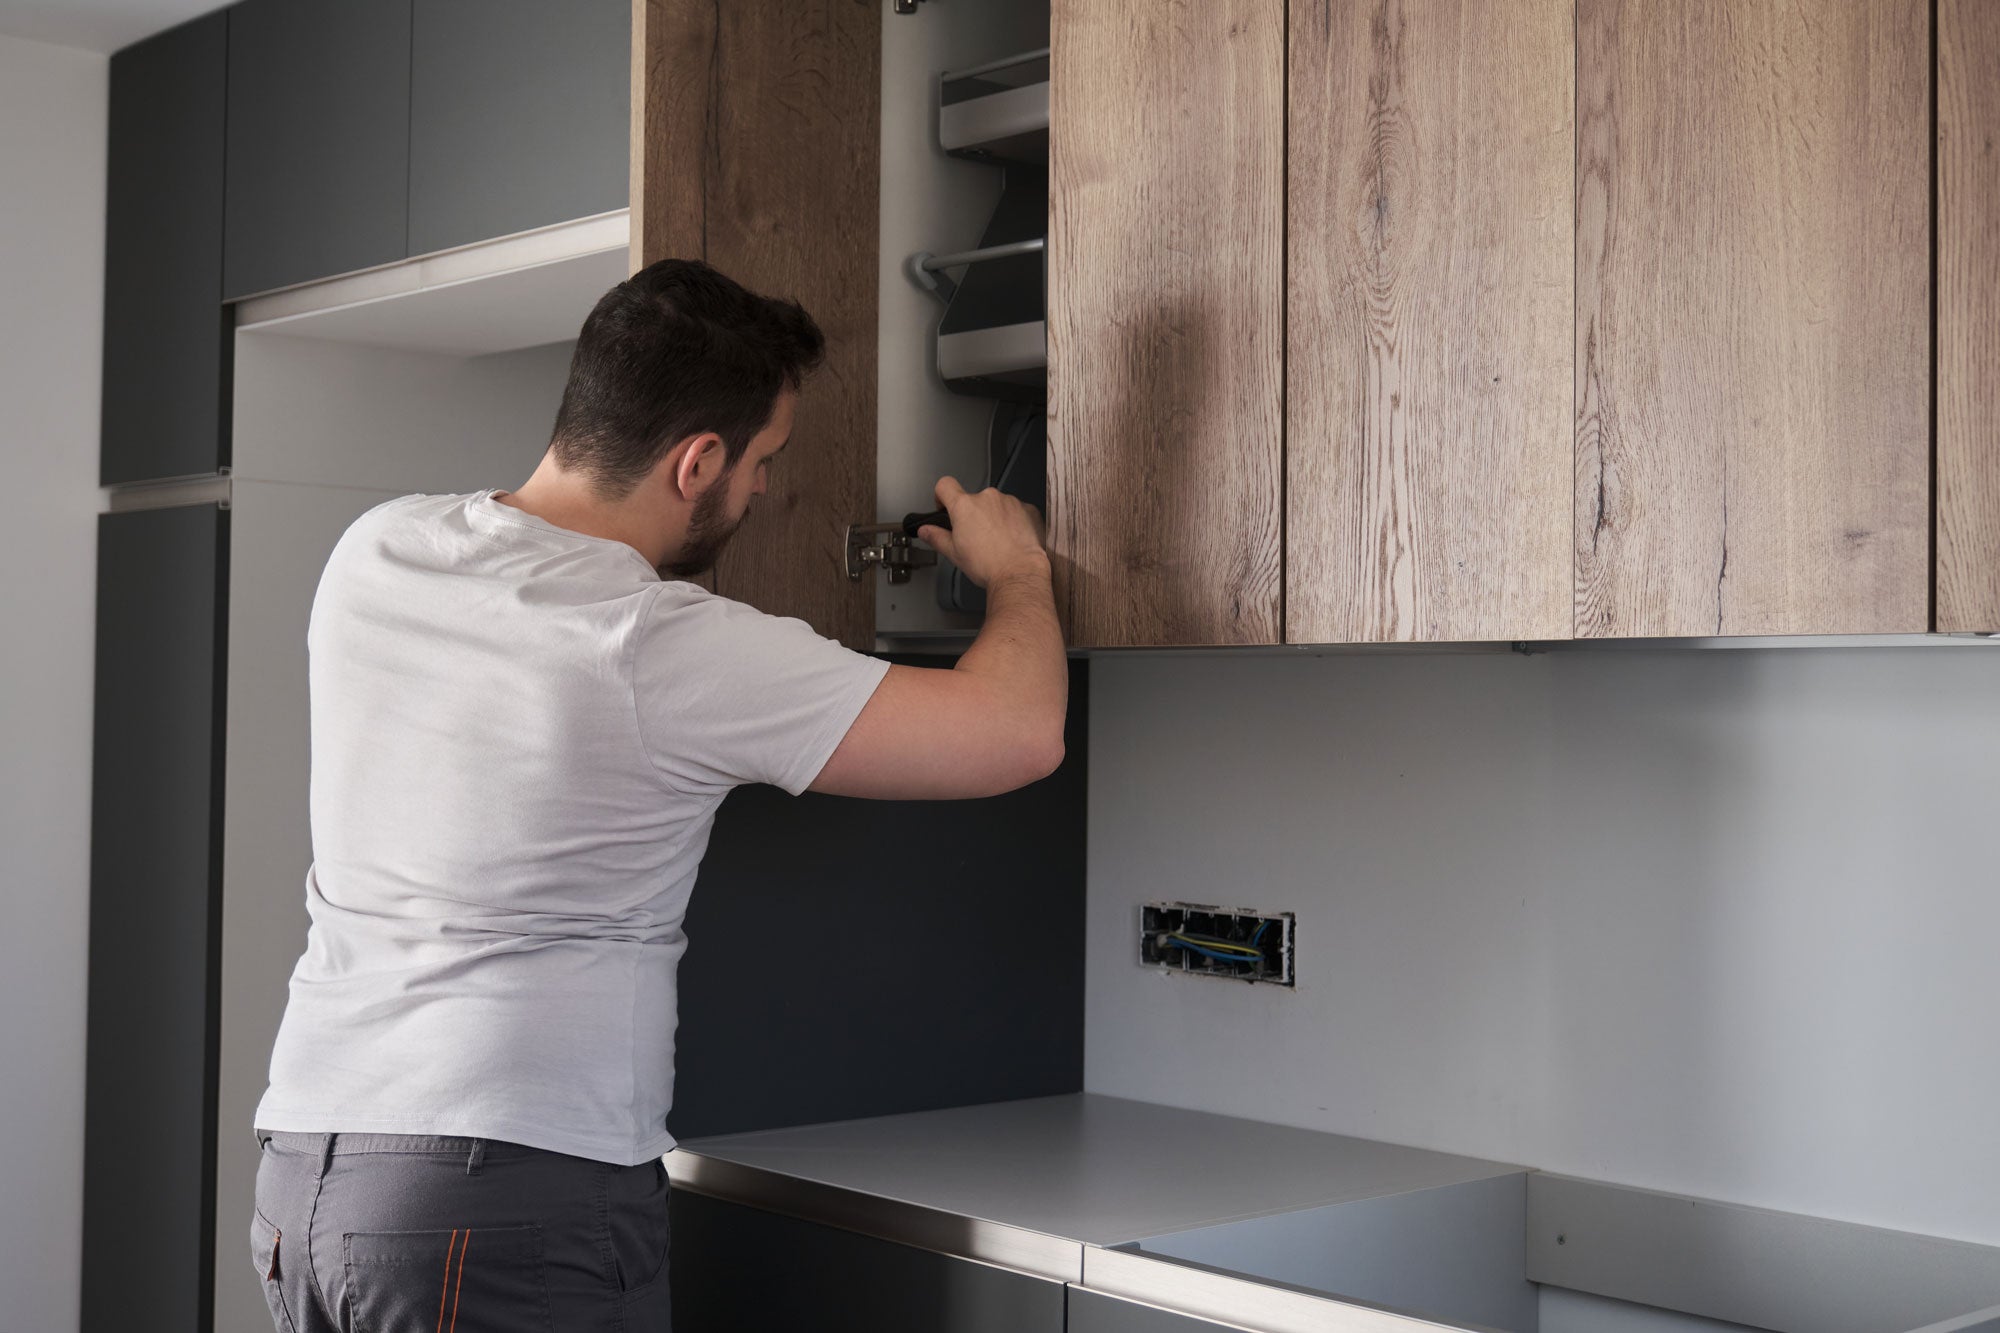
Installing Doors
- Attach the hinges to the doors according to the pre-marked positions. The desired direction of opening will be determined during the installation of the plates in the cabinet.
- Secure the hinge mounting plates inside the cabinet using the pre-drilled holes.
- "Clip" the doors onto the mounting plate, pressing towards the back to secure them properly.
- Corner hinges are pre-installed on the affected doors.
Installing Flip Hinges
- Screw the hinge bases inside the cabinet, into the designated holes.
- Attach the articulated arms to the door using the screws provided.
- Clip the arms onto the bases installed in the cabinet.
- Adjust the hinge tension and movement using the adjustment screws according to the weight and height of the door.
- Check the alignment and proper functioning of the mechanism.
Adjusting the hinges:

DUO hinges:

Installing Drawer Fronts
Metabox Slides
- Attach the mounting plates to the back of the drawer fronts using the screws provided, ensuring you use the correct model (left or right).
- Then screw the drawer fronts to the sides of the drawers, making sure everything is aligned correctly. Use a screwdriver or low-speed drill to avoid damaging the materials.
Facility :

Height adjustment:

Lateral adjustment:

Hettich Slides
- Use the double attachment for all drawers. For deep drawers, add the single end cap for extra support.
- Screw the attachment into the pre-drilled holes using the screws.
- To attach the drawer front to the drawer, slide it down until you hear a "click."
Facility :

Height adjustment:![]()
![]()
![]()

Lateral adjustment:

Tilt adjustment:

Adjustments and Fine-Tuning
- Height Adjustment: Adjust the front up/down using the knob.
- Side-to-Side Adjustment: Adjust the left/right position using a screw on the side of the drawer.
- Tilt Adjustment: Turn the rod behind the drawer front to adjust the angle.
- Removing the Front: Press the buttons on each side and remove the drawer front.
- Removing the Drawer: Press the trigger under the drawer and gently pull to remove it.
Final Adjustments: Dampers and Handles
Adjusting the Doors
- Close the doors and observe their alignment.
- If necessary, adjust the height, lateral positioning, or depth using the screws on the hinges.
- Once aligned, the doors should open and close smoothly.
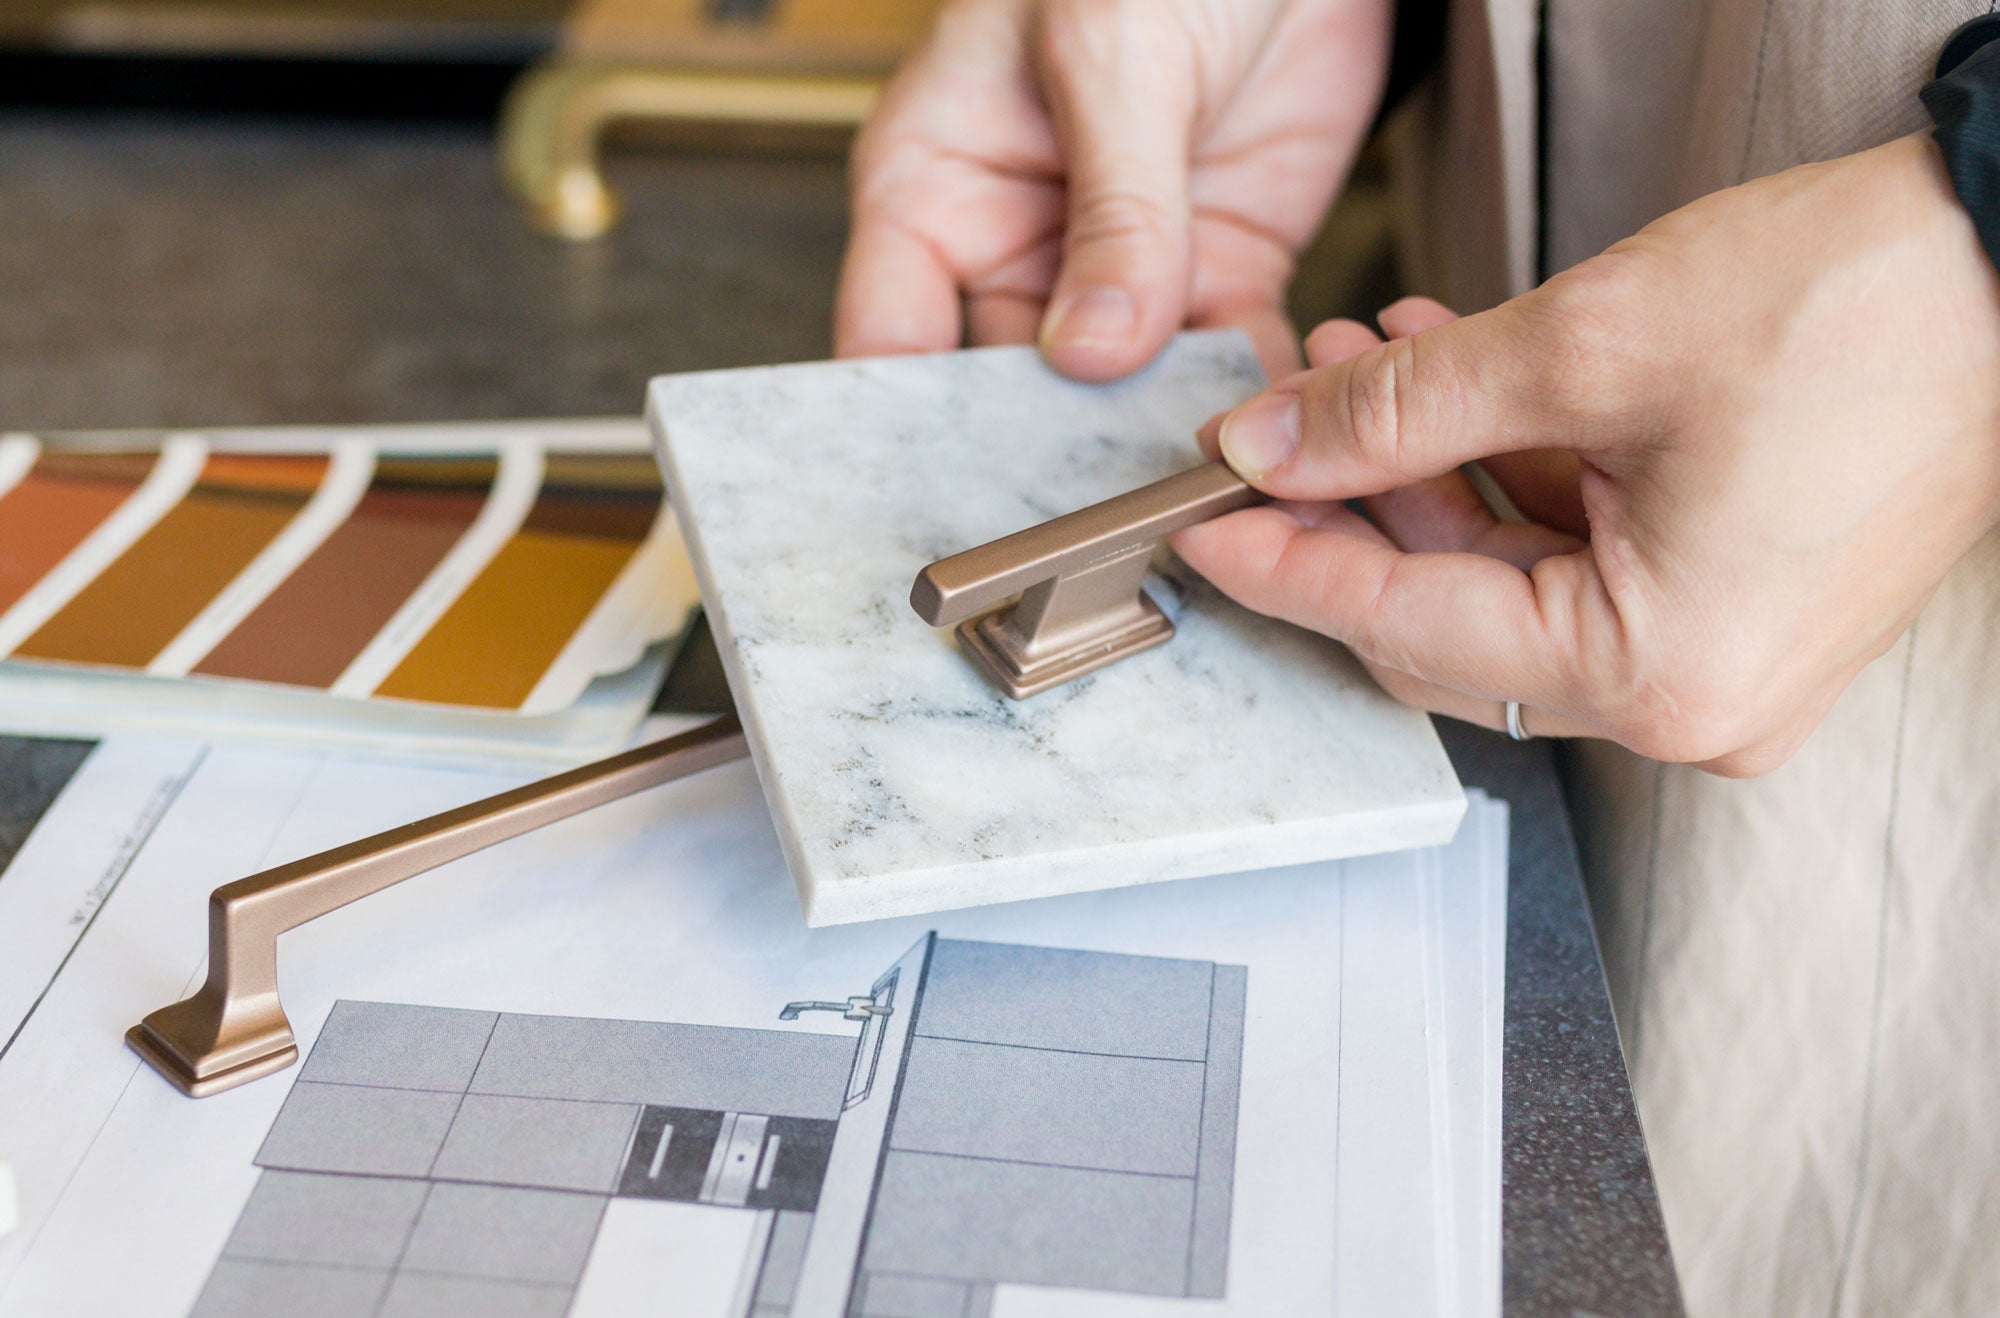
Installing Handles
- Use a drilling template to ensure perfect alignment of all the handles.
- Drill the holes at the marked locations.
- Install the handle by inserting the screw from the inside of the door or drawer, then tighten until it’s secure.
Installing Dampers
- Door Dampers: Install one damper per door, without forcing it. If it doesn’t fit correctly, check your installation.
 2. Drawer Dampers: Attach them under the left rail and under the drawer to ensure a smooth close.
Share Your Project with Us!
Is your kitchen installed? Show us the result! Send us photos of your completed project and, with your permission, we’ll feature them on our social media.
Send us your photos or contact us at: info@kwizineinstock.ca
For any questions about the installation or maintenance of your cabinets, our team is here to help.

Share:
Modern Kitchen: 10 Ideas for a Stylish and Functional Space
How to Care for Your Cabinets and Countertops to Keep Them Looking New